Where two sheets meet
Open seams
A seam is where two pieces of membrane join. It is the most common place for a single-ply roof to start leaking, and often the cheapest repair if caught early.
- Common leak source
- Cheap if caught early
- Method depends on material
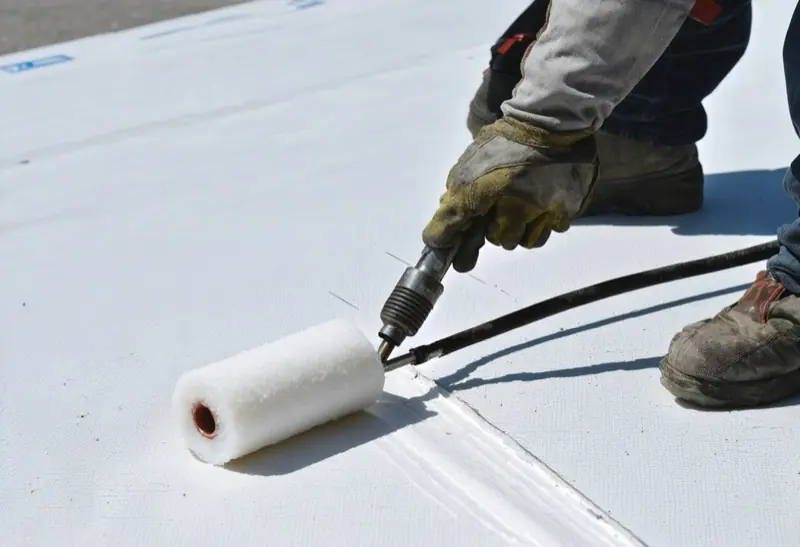
How to recognise an open seam
Look for an edge that is lifted or curled, tape that has peeled away, a hairline gap along a weld, or a ridge where the sheet has pulled apart. On a welded roof, the line of the seam may look darker or dirtier than the rest of the membrane. On mod bit, an open lap shows as a black line with a gap you can see into.
Water traveling under the membrane is the real danger. It can move metres from the seam before it drips through the ceiling, which makes the source hard to guess from inside.
Why seams fail
Poor prep at install
Dirt, moisture or a skipped primer step stops adhesives from bonding. These seams look fine for two or three winters and then let go.
Cold or damp installation
Adhesive and tape do not set in the cold. Seams made on a freezing day are the first to fail.
Thermal movement
Daily and seasonal swings pull on every seam, especially on dark, large roofs and over deck joints.
Ponding on the seam
A seam sitting under standing water is under constant stress. See ponding water.
Weld faults
On TPO and PVC, a weld made too cool or too fast looks closed but is not fused.
Foot traffic
Service techs walking across seams with equipment can scuff and lift them over time.
How urgent is it?
An open seam is a leak path, even when the ceiling below is dry. Treat it as a repair for the next dry window, not a thing to leave until spring. In winter it is a risk because ice forms inside the gap and pries it wider.
If water is already coming in, see emergency flat roof repair.
How seams are repaired, by material
EPDM
The seam is cleaned, primed and re-bonded with seam tape or splice adhesive, or covered with a cover strip. A lifting edge alone is not enough to prove the seam below is sound.
TPO and PVC
Probe the seam to find the open length, clean it, then hot-air weld a cover strip across it. See TPO and PVC.
Modified bitumen
The lap is reheated or re-adhered with cold adhesive, then the edge is sealed and, where needed, capped with a new strip. See modified bitumen.
Check the length
If one seam failed, others made at the same time may follow. We walk the full line before closing the job.
What you can safely do yourself
Look, do not pick
Do not peel a lifting edge to see how far it goes. You can open the seam wider.
Avoid sealant
A bead of caulk on top of an open seam hides the gap without fixing it.
Note the leak pattern
If drips follow a certain wind direction or heavy rain, that is useful for tracing the seam.
Typical costs
| Item | Starting price |
|---|---|
| Flashing repair or replacement | from $500 per repair |
| Small leak repair (patch, seam or puncture) | from $350 per repair |
Starting prices in CAD before 13% HST, based on typical Ontario contractor rates (mostly Toronto and the GTA). The final price depends on roof size, access, the layers to remove, the membrane, drains and flashings, and is confirmed in your written quote.
Open seam questions
Is an open seam always a repair job?
If it is one short length on an otherwise sound roof, yes. If seams are opening in many places, the membrane may be failing and a replacement quote is worth getting.
Can seams be fixed in winter?
Temporary protection, yes. A permanent fix needs dry surfaces and mild weather for adhesives and welds to work.
Why did my new roof seam open?
Usually install conditions: cold, damp or dirty surfaces. Report it early and keep photos and your written quote.
Leak, damage or an old flat roof?
Send a few details and photos. We reply by email with next steps and a written quote.